prick | prɪk |
noun
- an act of piercing something with a sharp point: the pin prick had produced a drop of blood.
- a small hole or mark made by pricking something.
- a sharp pain caused by being pierced with a sharp point: he felt a tiny prick in his arm.
- a sudden feeling of an unpleasant emotion: he felt a prick of resentment.
- vulgar slang a man's penis
- a stupid or contemptible man.
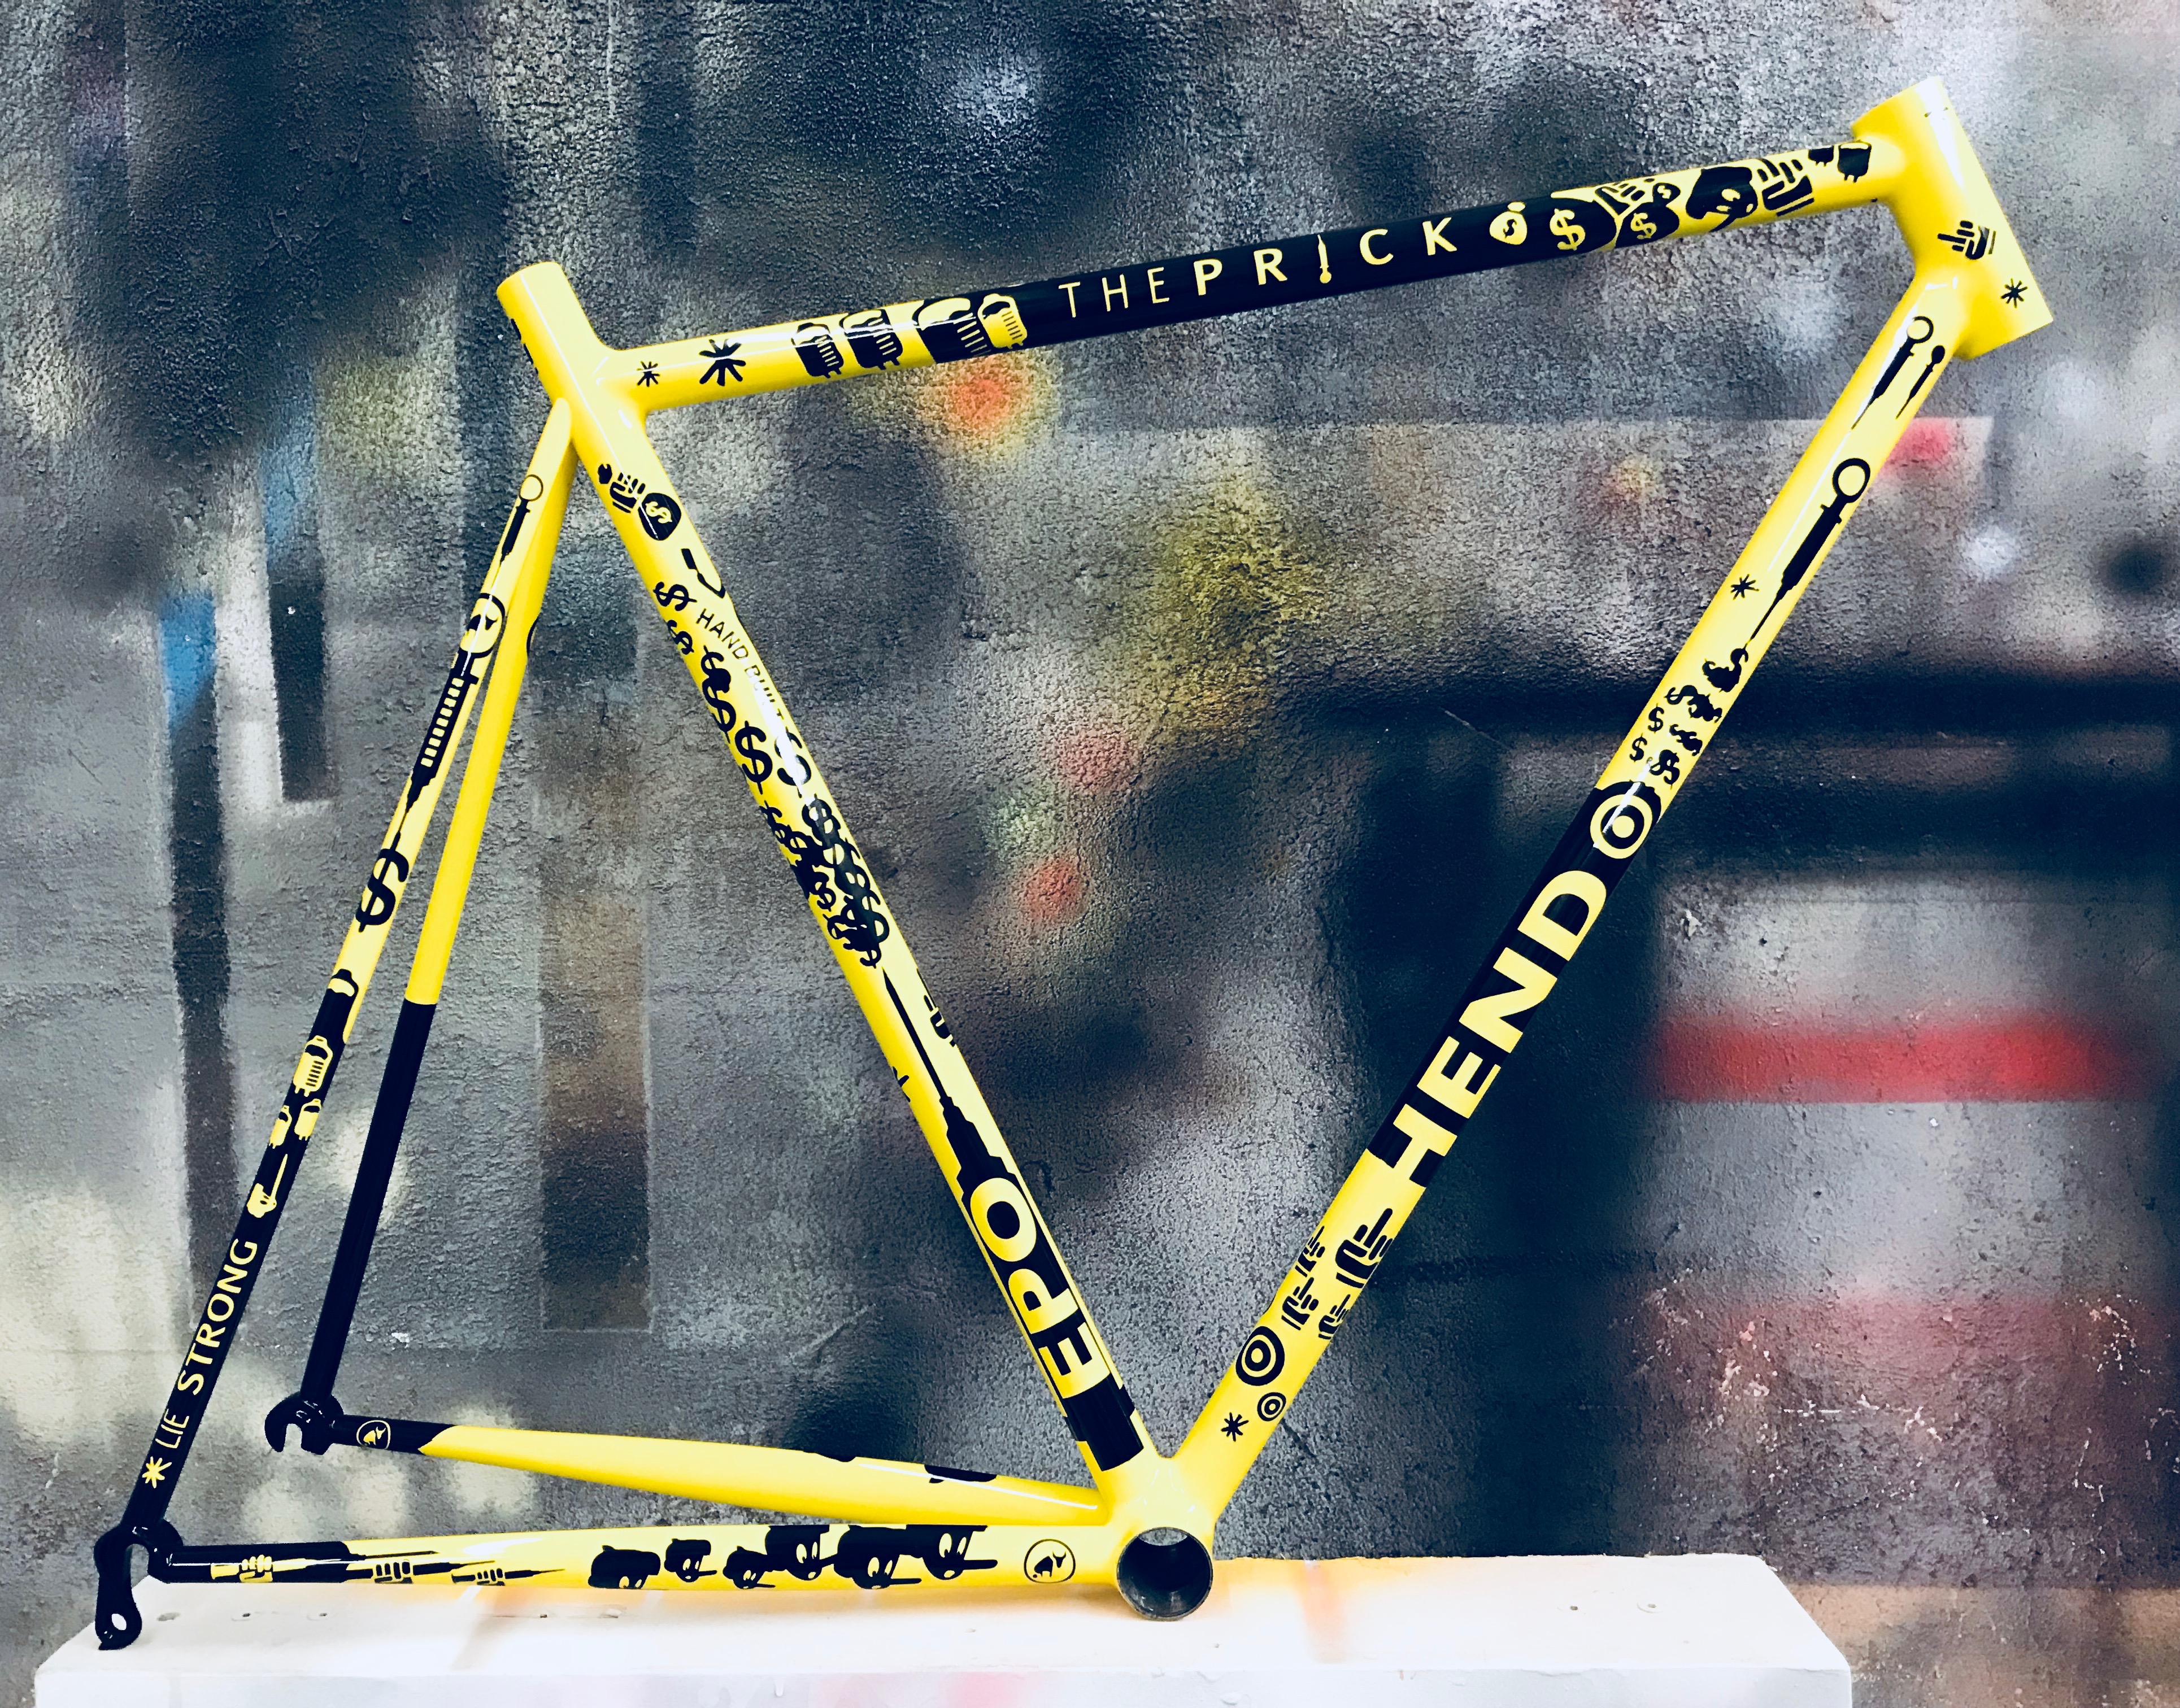
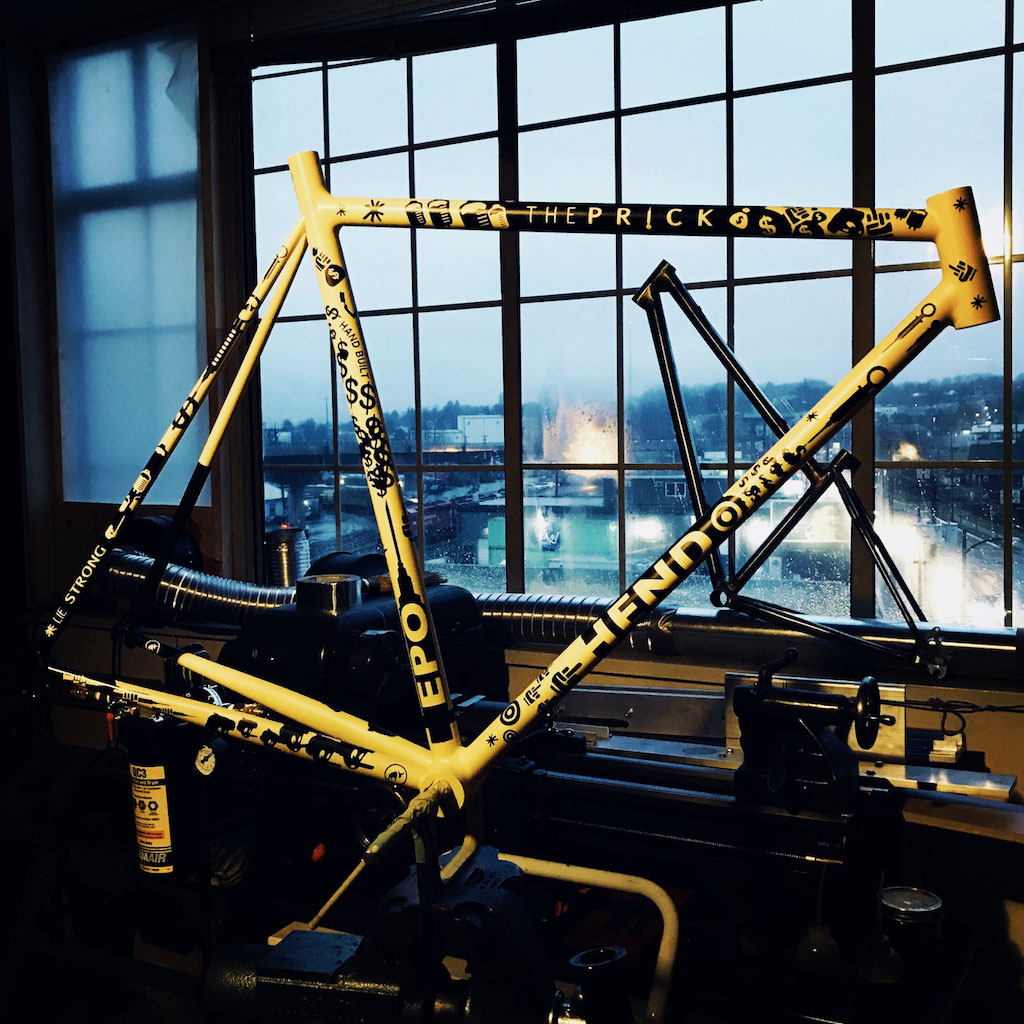
Based on the 2009 Astana bicycle
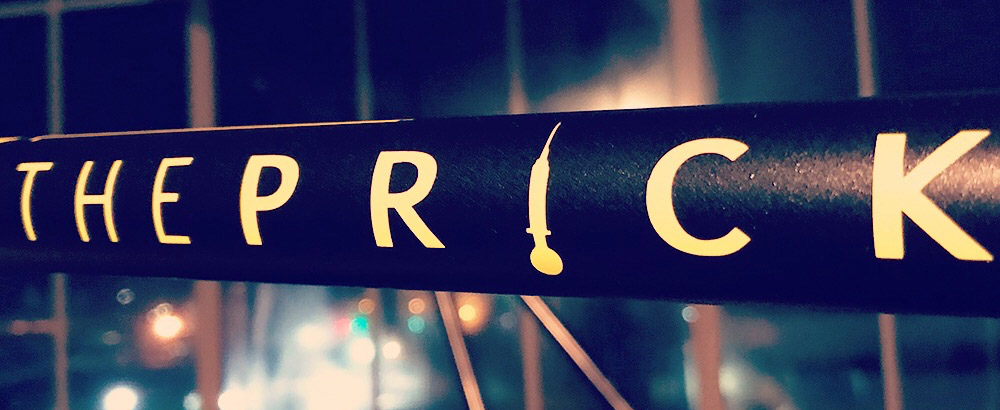
ridden by Lance Armstrong, formerly of the Tour de France, I created The Prick to utilize the classic colors of yellow and black into a custom-painted, bicycle with no repsect. Those day are behind us now.
THE FIVE ESSENTIAL ELEMENTS
 1 asshole, a footnote in history
 a greedy, fuck-you attitude
 money
money
 some bullshit for good measure
 chemicals / epo / doping / peds

My 8 Steps to Recovery

After taking Paul Brodie's Framebuilding Course at the University of the Fraser Valley, I built a bike, a MONSTERCROSS, in my studio at The ARC. Of course the bike needed paint, yellow or red? I am drawn to both but I went with red since yellow felt a bit tainted due to its association with cycling and Lance Armstrong... the man reeked of yellow. The color was tainted man! ... so I went with classic Red & Black, always a winner with no regrets.
Red & Black & White with TEXT
Red & Black is scattered around our studio. It works for you.
Why even care about the Armstrong connection? Why bother? Good question. Possibly because Armstrong went to great extremes to drag people down while trying to save his greedy ass and at one point I believed... so why bother promote the man (even though I realize he did not coin the bumble bee, Warhol's banana, Batman, nor NYC taxis)? I could care less about doping... it was the toxic and threatening denials that made an impression. And it was hard not to see Armstrong when I saw Yellow & Black tied to cycling. It had been heavily engrained over the years and Yellow & Black now felt like a dirty, crusty, stink-filled rag.
Red & Black it was.
But Yellow & Black brewed for a bit due to its seductive nature I imagine. And then when I stumbled across the 2009 Astana bicycle with its custom Yellow & Black paint job and connection to Armstrong, I saw a path to trod.
The birth of the formula: Cycling + Doping + Lance Armstrong + Yellow & Black = The Prick.
Building a bicycle incorporates many facets: working with hands - getting them dirty, working with metal, brazing, welding, filing, sanding, layouts, angles, design, and anticipation.
Painting a bicycle incorporates many of the skills I've developed as a visual artist: mixing colors, masking, registration, pigments, design, themes, and black humor, a driving force when it comes to my art making.
The Frame
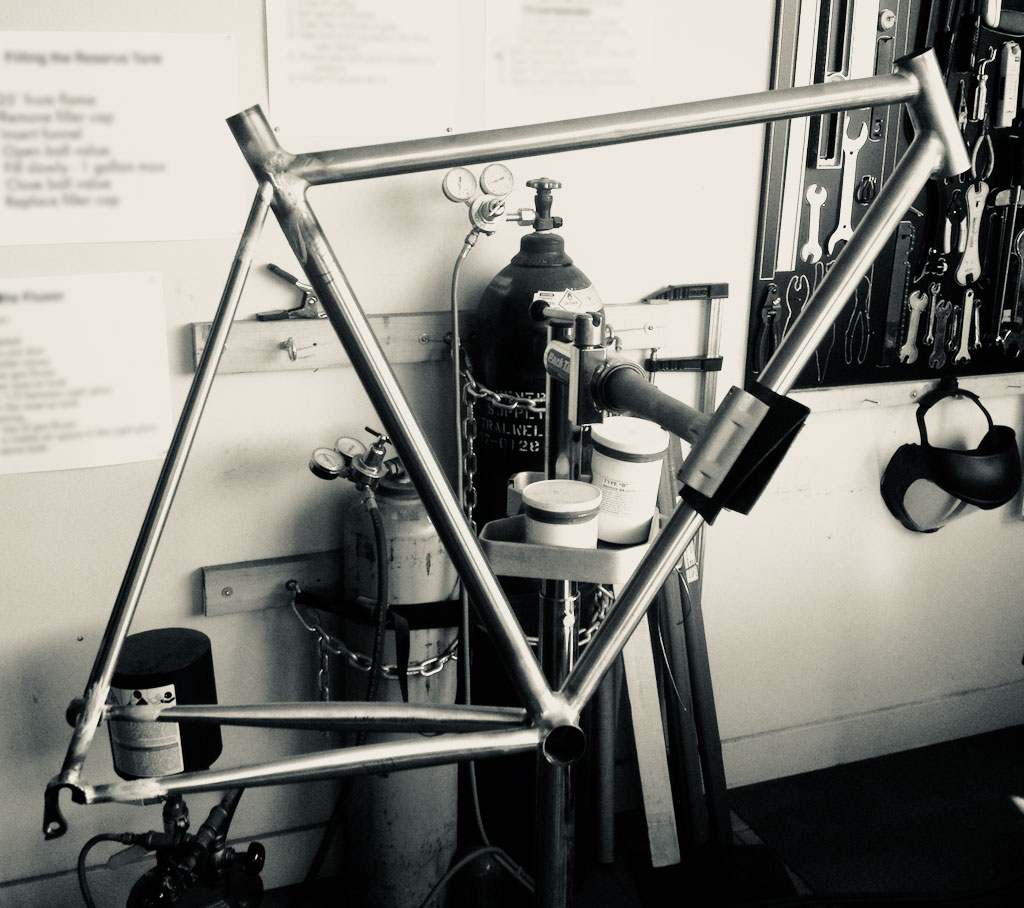
I order frame tube sets from Nova Cycles Supply. So with some Nova tubes in-hand I built a road-bike like frame as the base. As far as framebuilding goes, this was straight-forward in that I was not building this frame to ride. I was building it as an Art Frame (capital A). So I decided to build a minimalist frame with no braze-ons, bridges, etc.
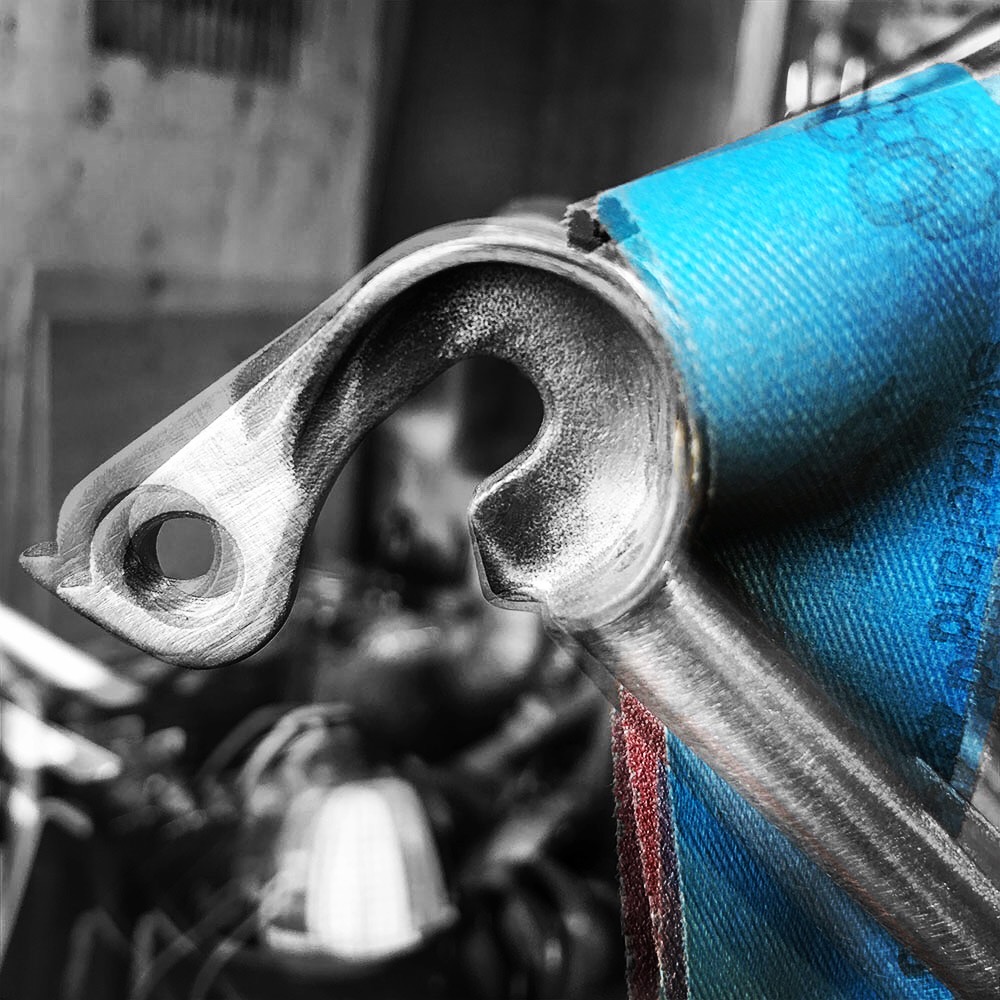
Here she is with only some brazing cleanup at the dropouts and seat cluster remaining:
After the frame was built, I moved on to the masks needed to paint the graphics.
The Masks
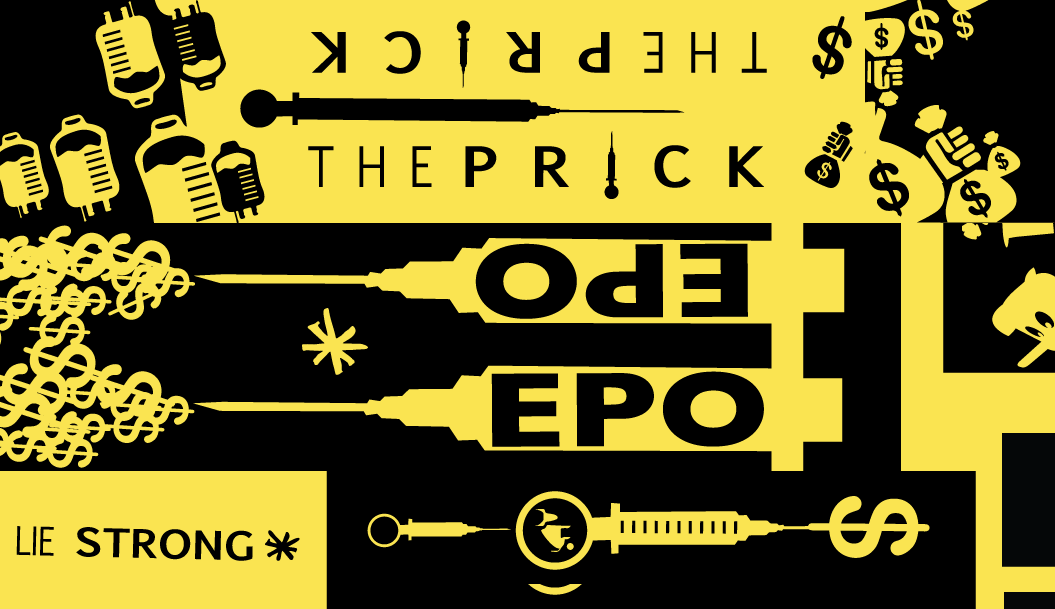
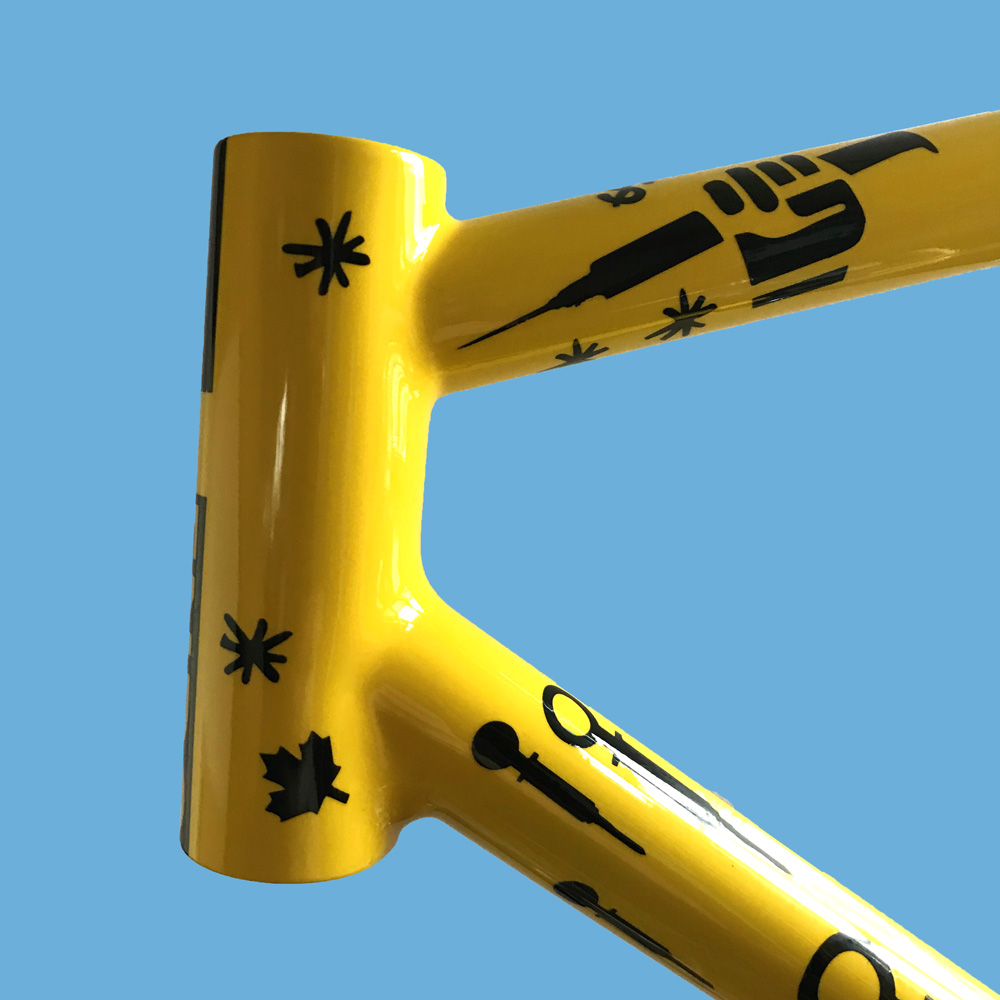
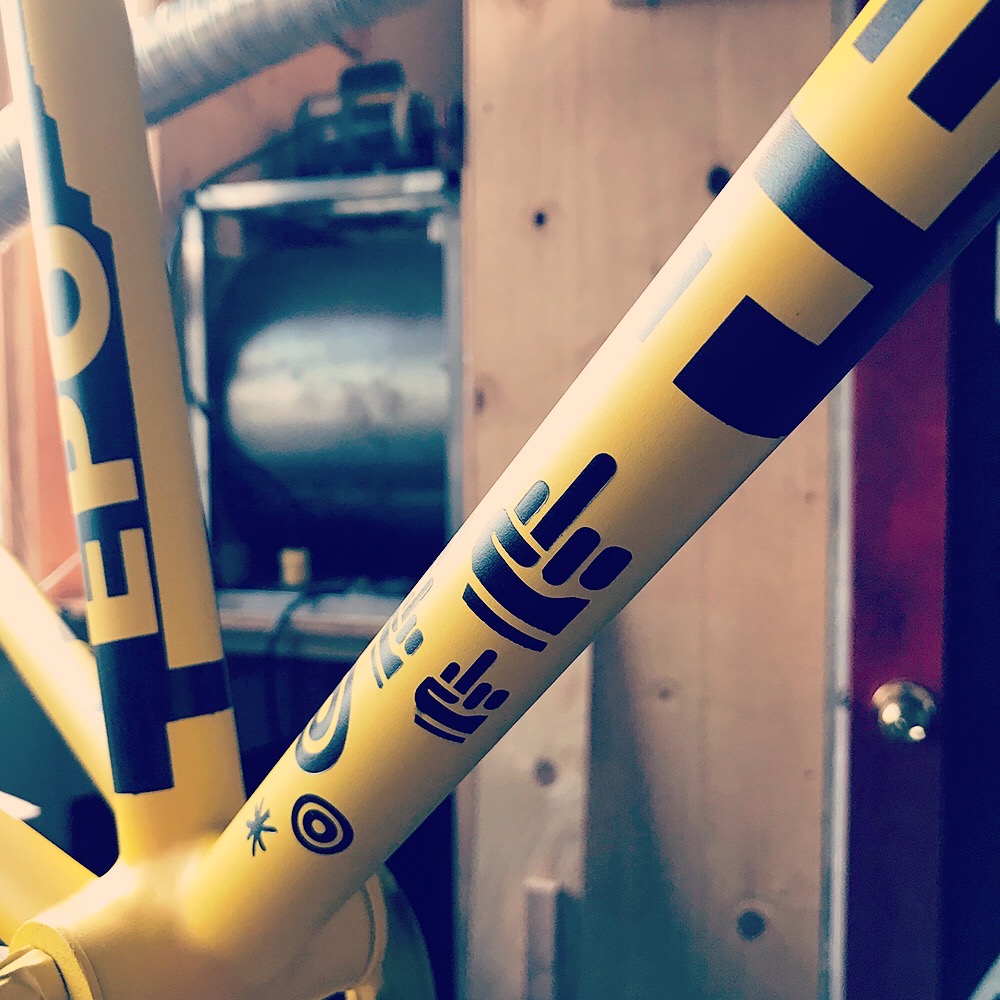
I used the frame as a reference for laying out the graphics in Adobe Illustrator. Taking the length and diameter of a tube, I would create a rectangle in Illustrator that would wrap the tube if printed out. Within that rectangle I "cut out" the graphics where I wanted to place paint. Here's a partial mask for the top tube of The Prick:

Black is the mask that blocks the airbrushed paint. The cut out (i.e. weeded) sections are where the paint flows. Make sense? Here's the painted tube:
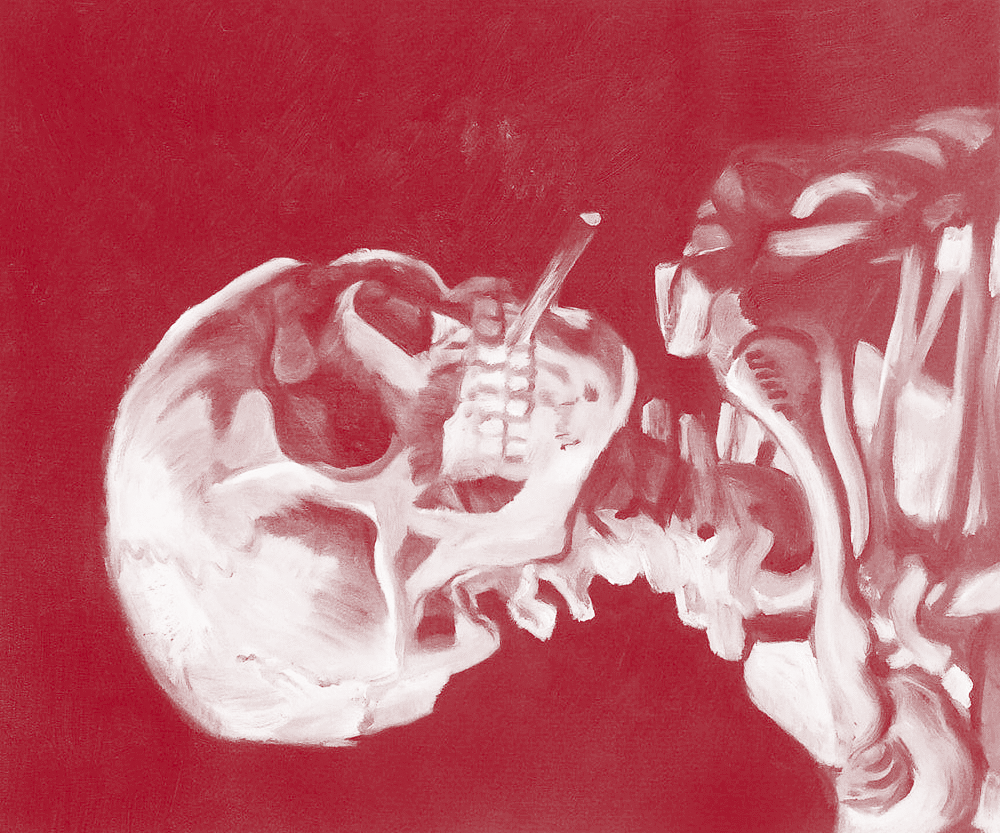
The process of painting a bike is much like how I would screenprint at Emily Carr University. You break an image down into color layers and paint each layer individually. If I was to screen print this Coca-Cola syringe, I might use the masks below it, one for each color in the main image, and lay down 7 separate layers of color (including a background color). Aligning (aka registration) subsequent layers is key.


Same idea when painting a bike... sort of. Although The Prick involved much fewer layers of color and instead of screens I use cut vinyl masks that wrap the frame tubes to block the paint.
After the masks were created, on to frame painting prep...
Frame Prep
Before sanding the frame, I cleaned with a Wax & Grease Remover.
This works
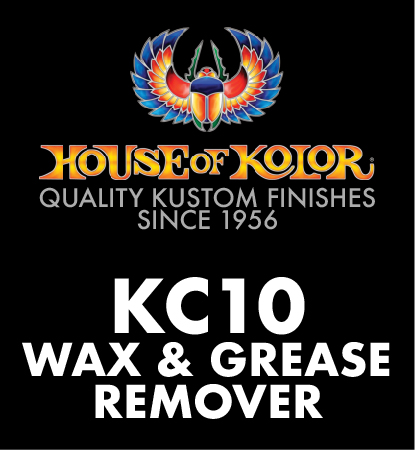
Degreasing before sanding lessened the chance that I'd sand oils into micro-pits in the metal and possibly contaminating the paint later on.
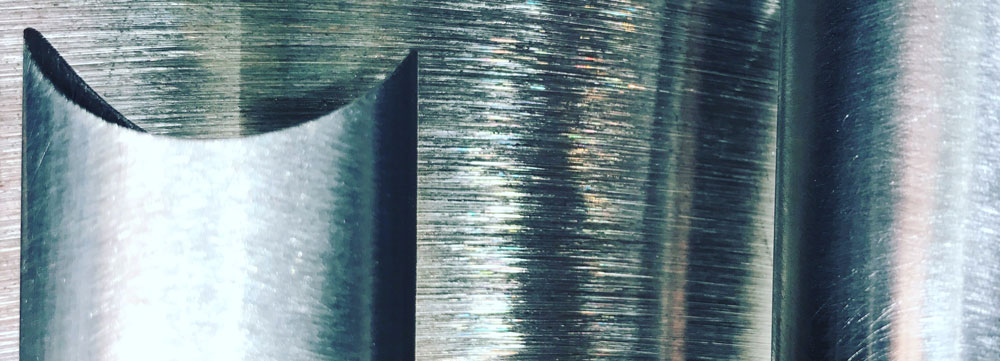
Then, using strips of 80 grit emery cloth, I sanded until my fingers were ready to bleed while removing all areas of oxidation and giving the surface a mechanical tooth for the primer.


At this point the surface was nice and clean and shiny with visible sanding marks.
Something like this:
And then I cleaned again with the Wax & Grease Remover
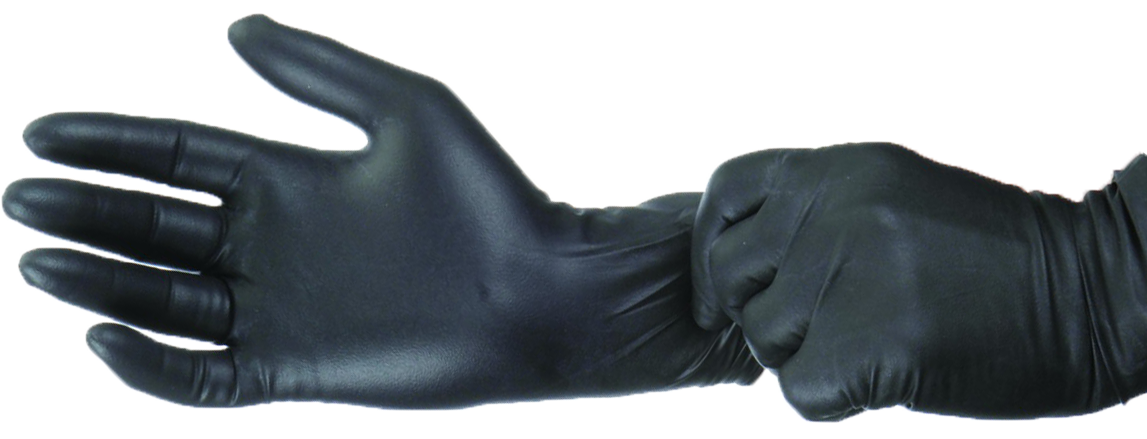
IMPORTANT From now on, when handling the frame, I always wore gloves and did not touch the frame with bare hands so as to not contaminate the frame with oils which might interfere with primer or paint adhesion. I wore gloves during priming and painting until after it was cleared.
Primer
Before priming, I cleaned the surface with a tack cloth to remove any dust and then I primed with an epoxy primer.
After priming, I VERY LIGHTLY dry-sanded with 400 grit sandpaper to remove any surface level dust and to give the surface a bit of tooth for the basecoat.
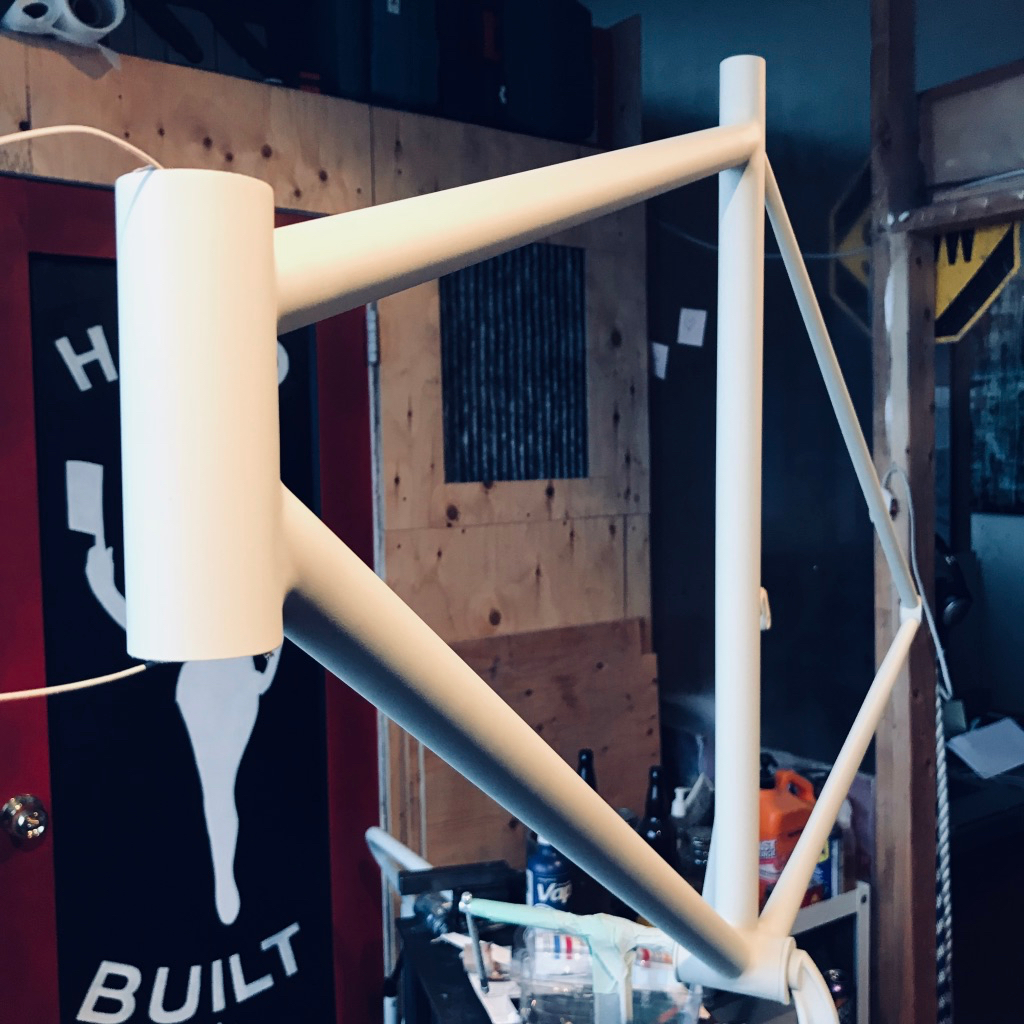
Here she is fully primed

Make sure you adhere to all health warnings associated with the paints and primers or end up dead before you know it.


Sealer
I painted The Prick with Auto-Air waterbased paints by Createx. They have tinted sealers to put over the primer and I used their AutoBorne Sealer Yellow since it ensured quick coverage of the Semi Opaque Flame Yellow base coat I used.
I sprayed the sealer with an Iwata LPH-80 spray gun. following the directions on the sealer.
Here she is fully sealed
Base Coat
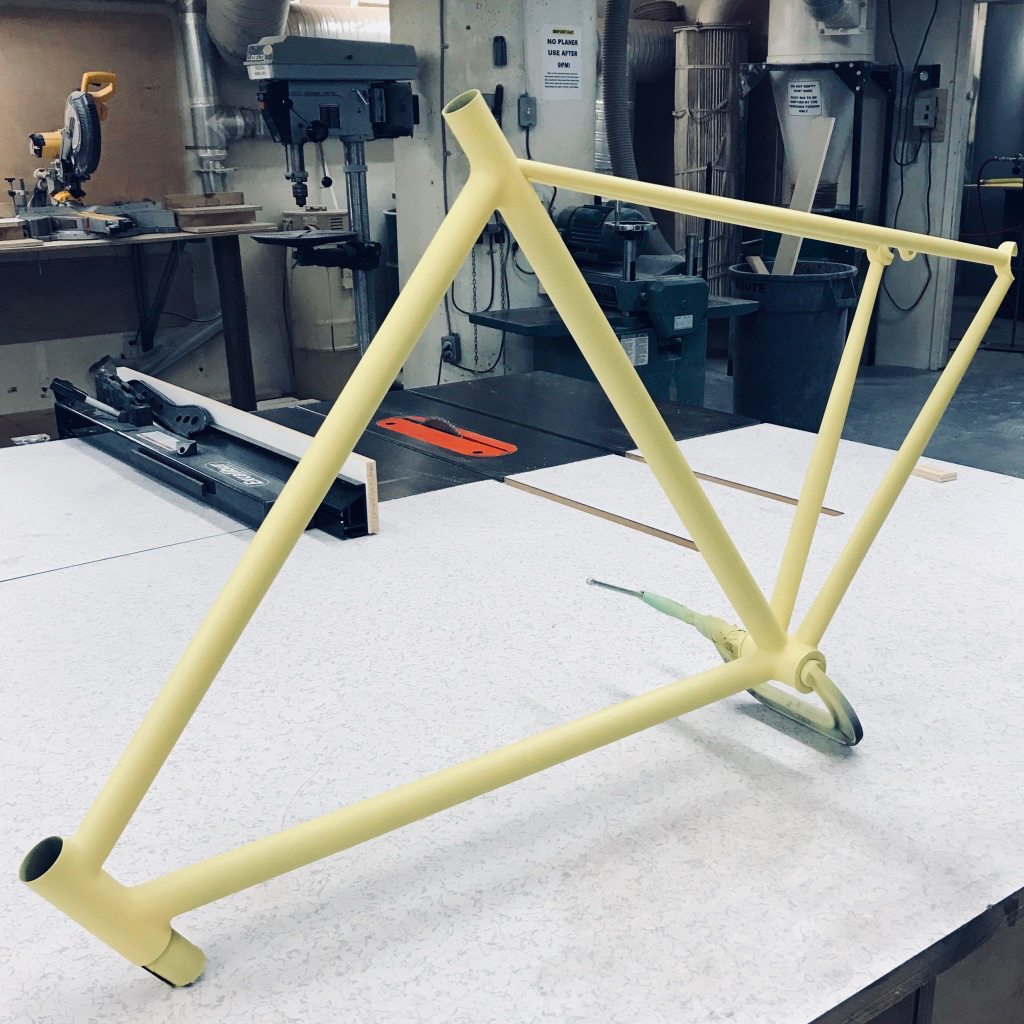
Same story as the sealer but instead of sealer I laid down a base coat of Semi Opaque Flame Yellow also using the Iwata LPH-80. About 4 coats. Super yellowy at this point... crisp and clean.
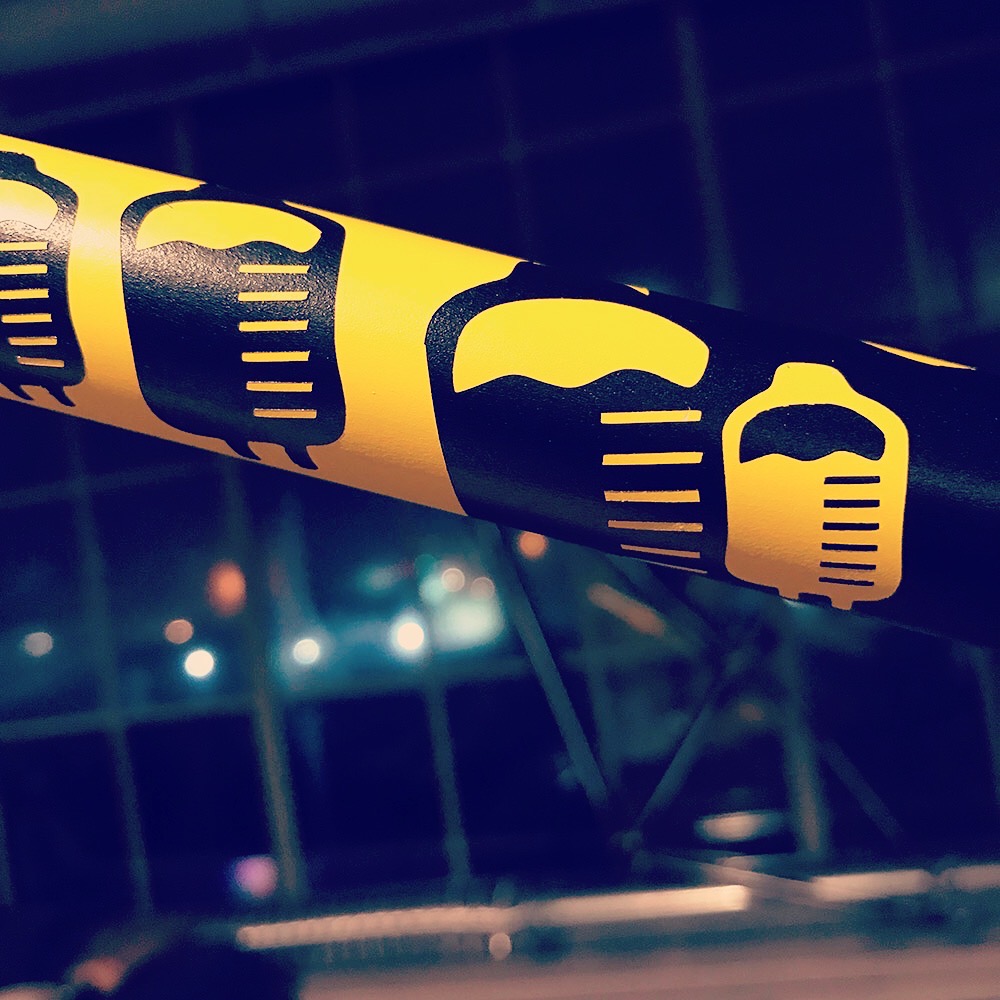
Graphics
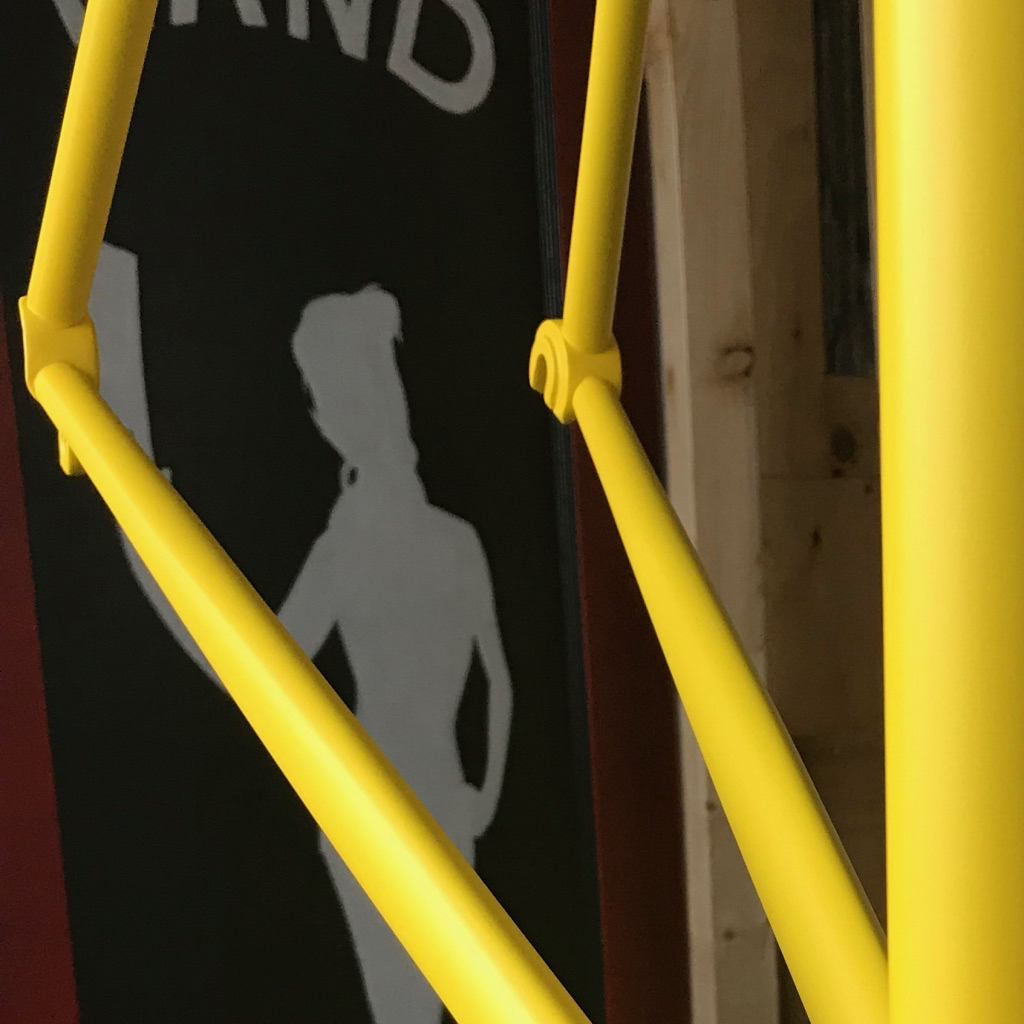
The next stage was to mask and paint, mask and paint, and mask and paint using Wicked Black for the graphics. The following images should give you an idea of what was involved.
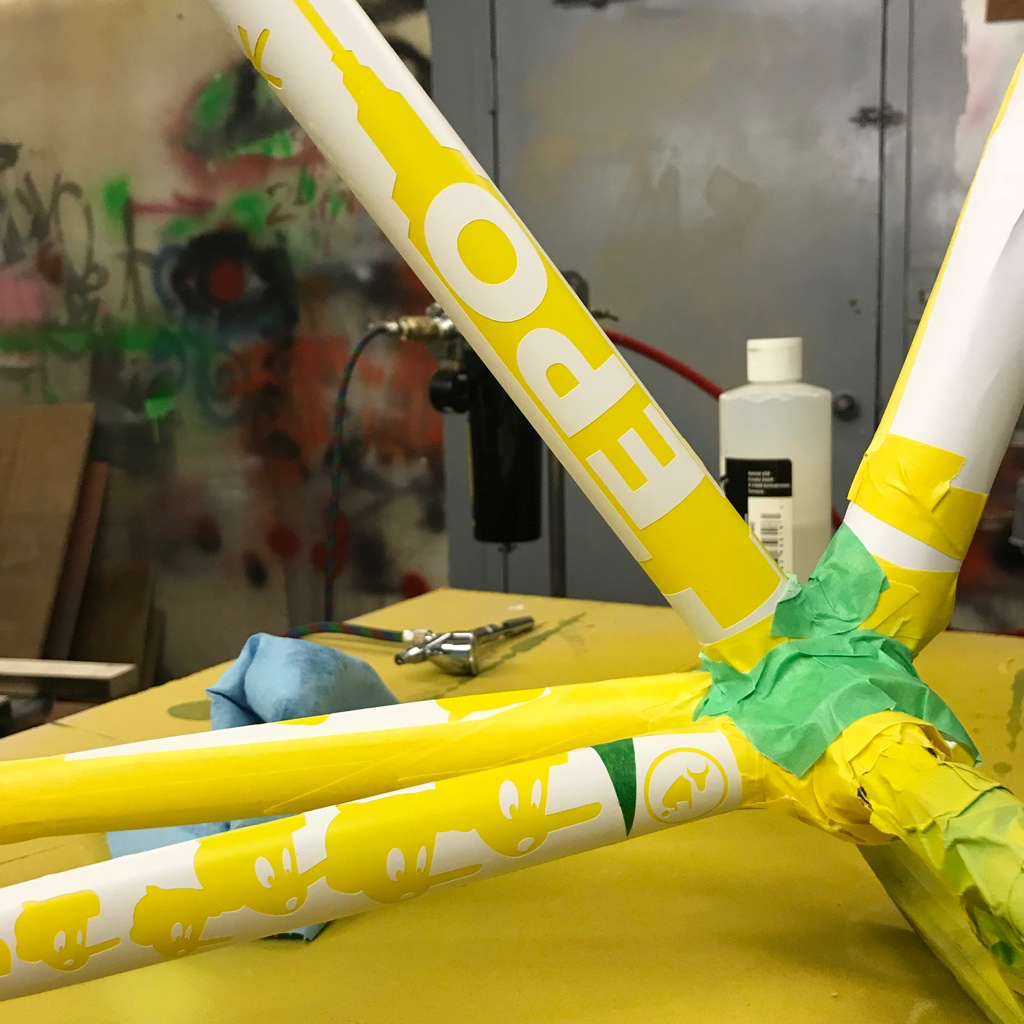
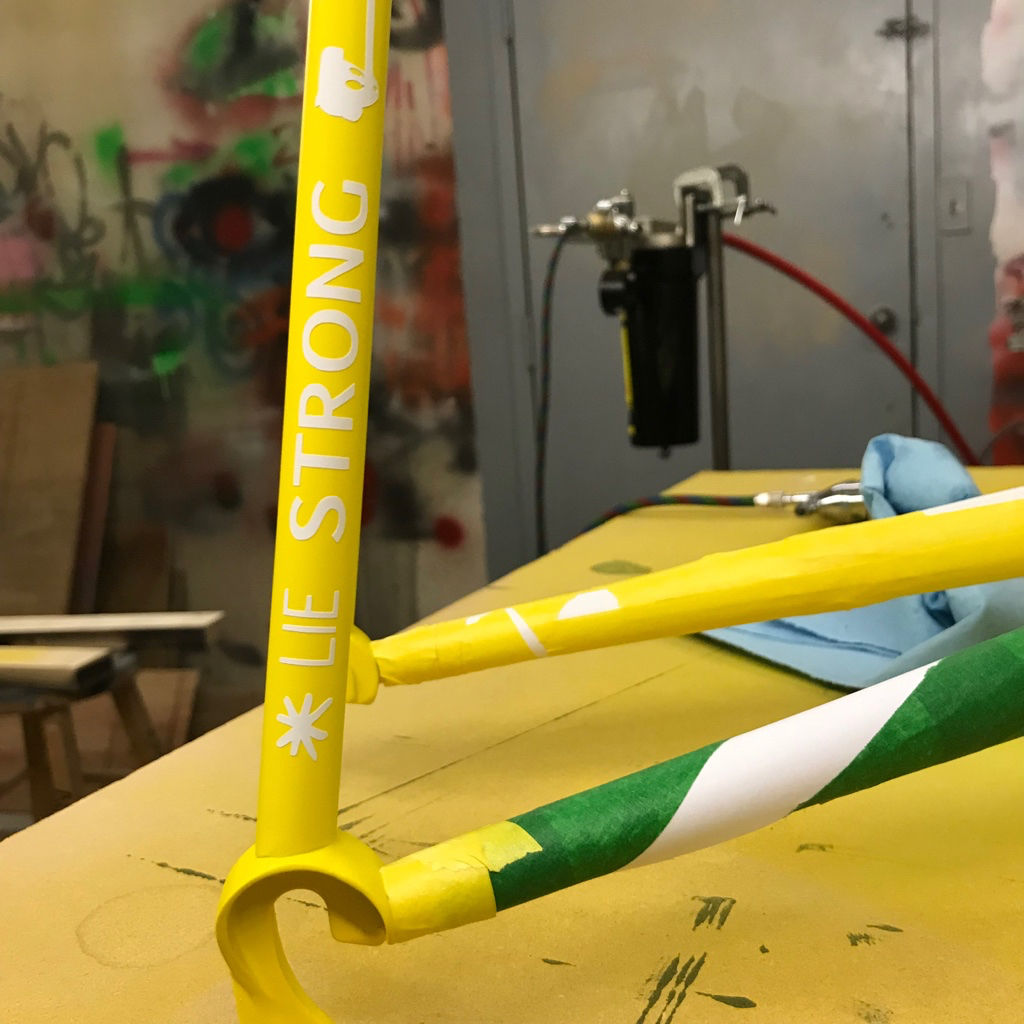
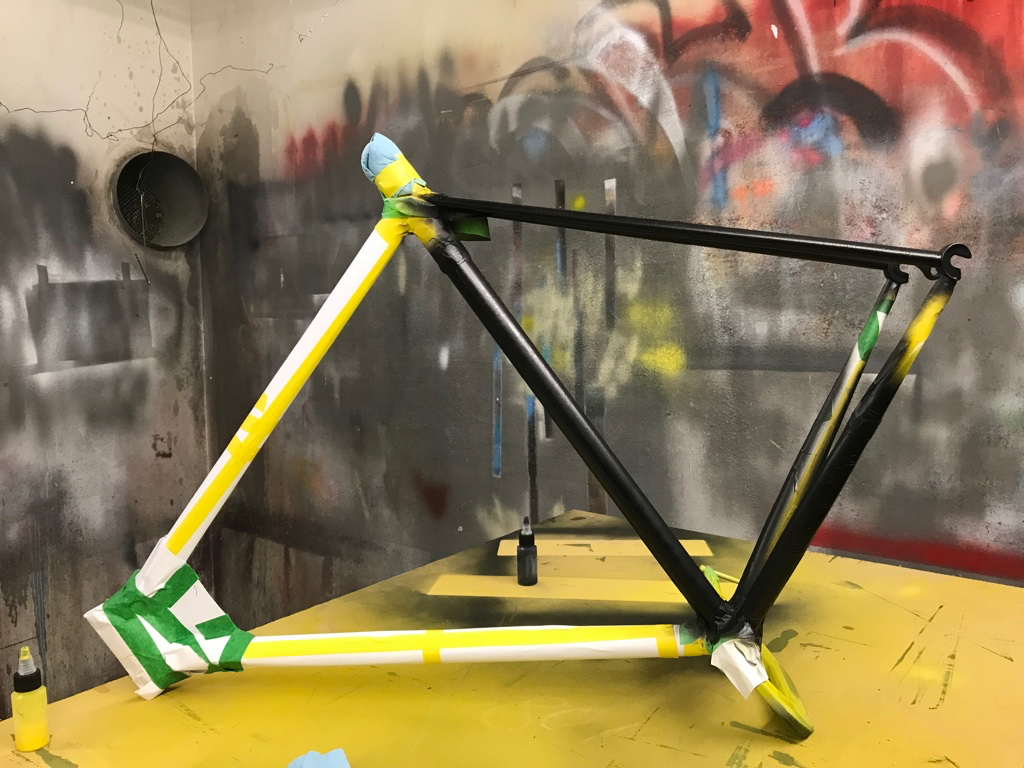
Repeat until final frame is realized
Clear Coat
I then took the finished frame (still wearing my gloves) to Toxik Harald for the final clear.